Team & Settings
Autoura separates your staff directory (people you assign work to) from user access (who can log in and what they can do). This page covers both, plus the Settings area.
Team Members (Staff Directory)
Go to Team Members under People (admin/manager only). This is your staff directory — the people you assign tasks to. Adding someone here does not give them a login.
- Click Add Member and fill in their details directly — no invitation email is sent
- Role here is a job title: Owner, Manager, Coordinator, Sales, Tour Guide, Driver, or Staff
- Optionally assign a department
- Filter the directory by role or department
- Members can be edited or deleted at any time
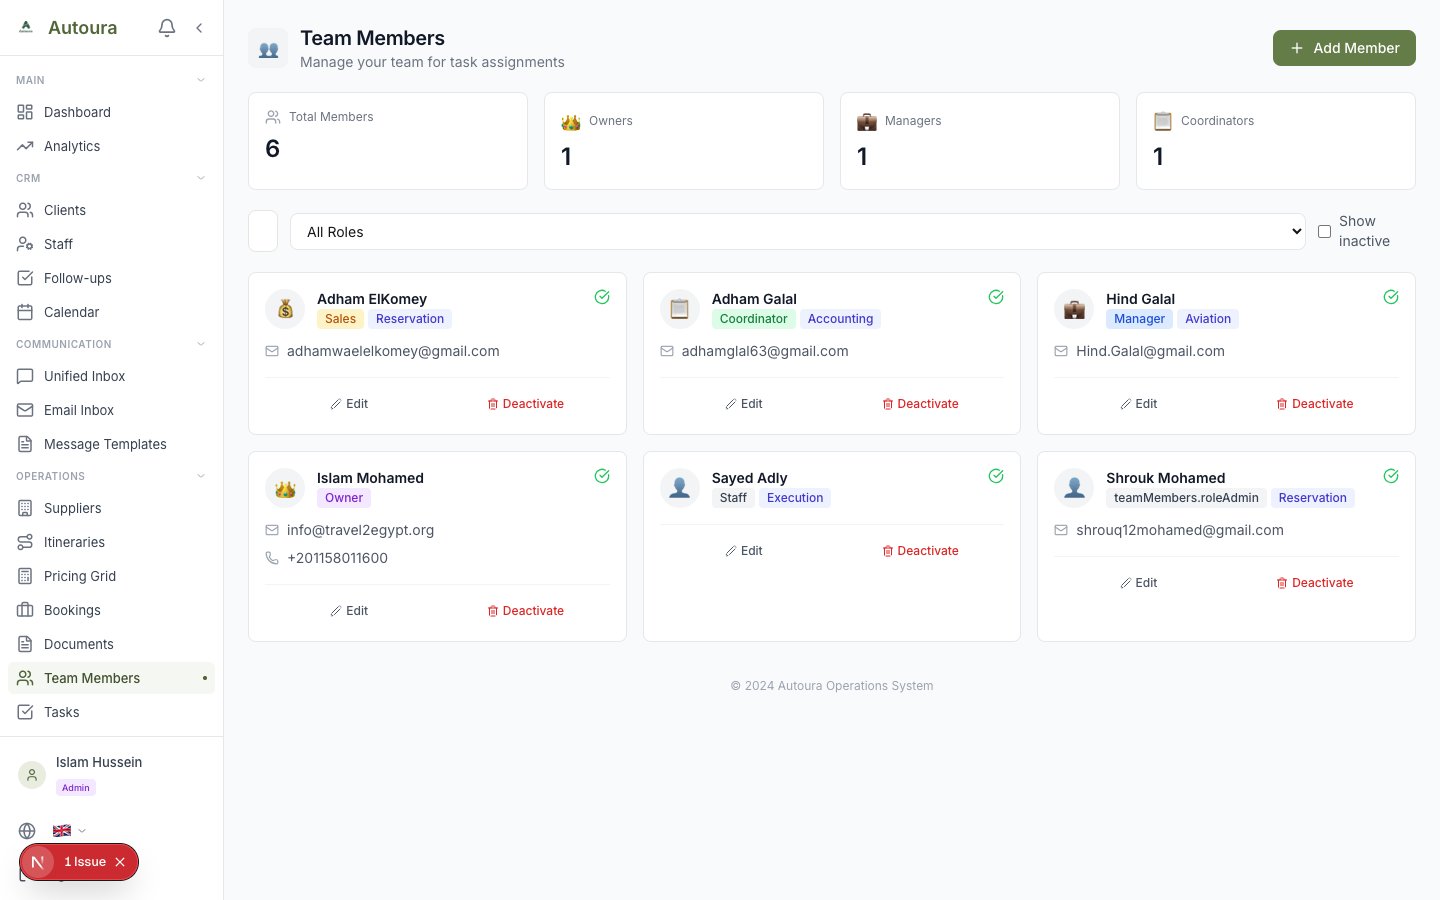
Team Members staff directory with job-title roles, departments, and filters
User Management
User Management (admin only) is the single place to control who can log in to your workspace:
- Click Invite User, enter their email, and pick an access role — they receive an email to set up their account
- Access roles are Administrator (full access), Manager (clients, tasks, and reports), Member (assigned work), and Viewer (read-only)
- Change a user's role from the inline dropdown, or deactivate a user to revoke access
- Pending Invites and Expired Invites sections let you resend or revoke invitations
- A Role Permissions reference table at the bottom of the page shows what each role can do
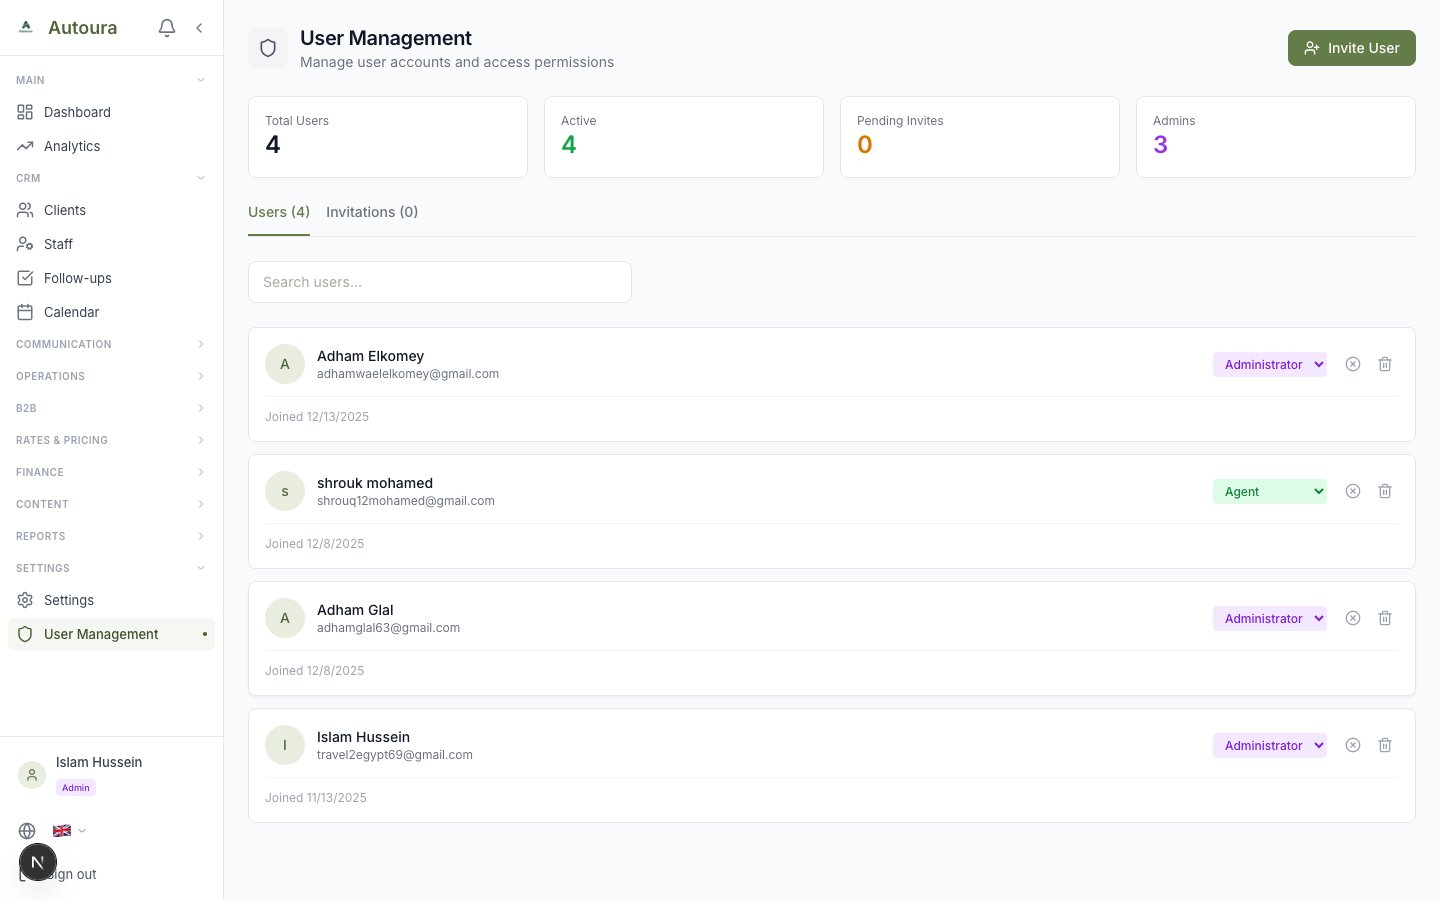
User Management page with users, roles, and invitation management
Team Activity (optional)
Activity Summaries give admins and managers a light-touch view of how the team uses Autoura: last login, last seen, approximate focused time, and work counts per member — off by default, and always visible to the member themselves. See the dedicated Team Activity page for how to enable it, what it shows, and its deliberate limits.
Settings
Go to Settings (the Settings group is admin-only). The page has four tabs:
Profile
- Update your name and upload an avatar
- View your role
- Set your Timezone and Company Name
- Connect or disconnect your Gmail account
- Email signatures are managed on their own page — follow the Manage signatures link (rich and HTML signatures; your default signature auto-appears in the reply composer)
Notifications
- Master toggles for email and in-app notifications
- Per-event toggles: Task Assigned, Task Due Soon, Task Overdue, Task Completed
Preferences
Titled Itinerary Preferences — defaults for new itineraries:
- Default Cost Mode — Auto-Calculate (use rates database) or Manual Entry (enter costs by hand)
- Default Tier — Budget, Standard, Deluxe, or Luxury
- Default Margin — Default markup percentage
- Default Currency — Your preferred currency (EUR, USD, etc.)
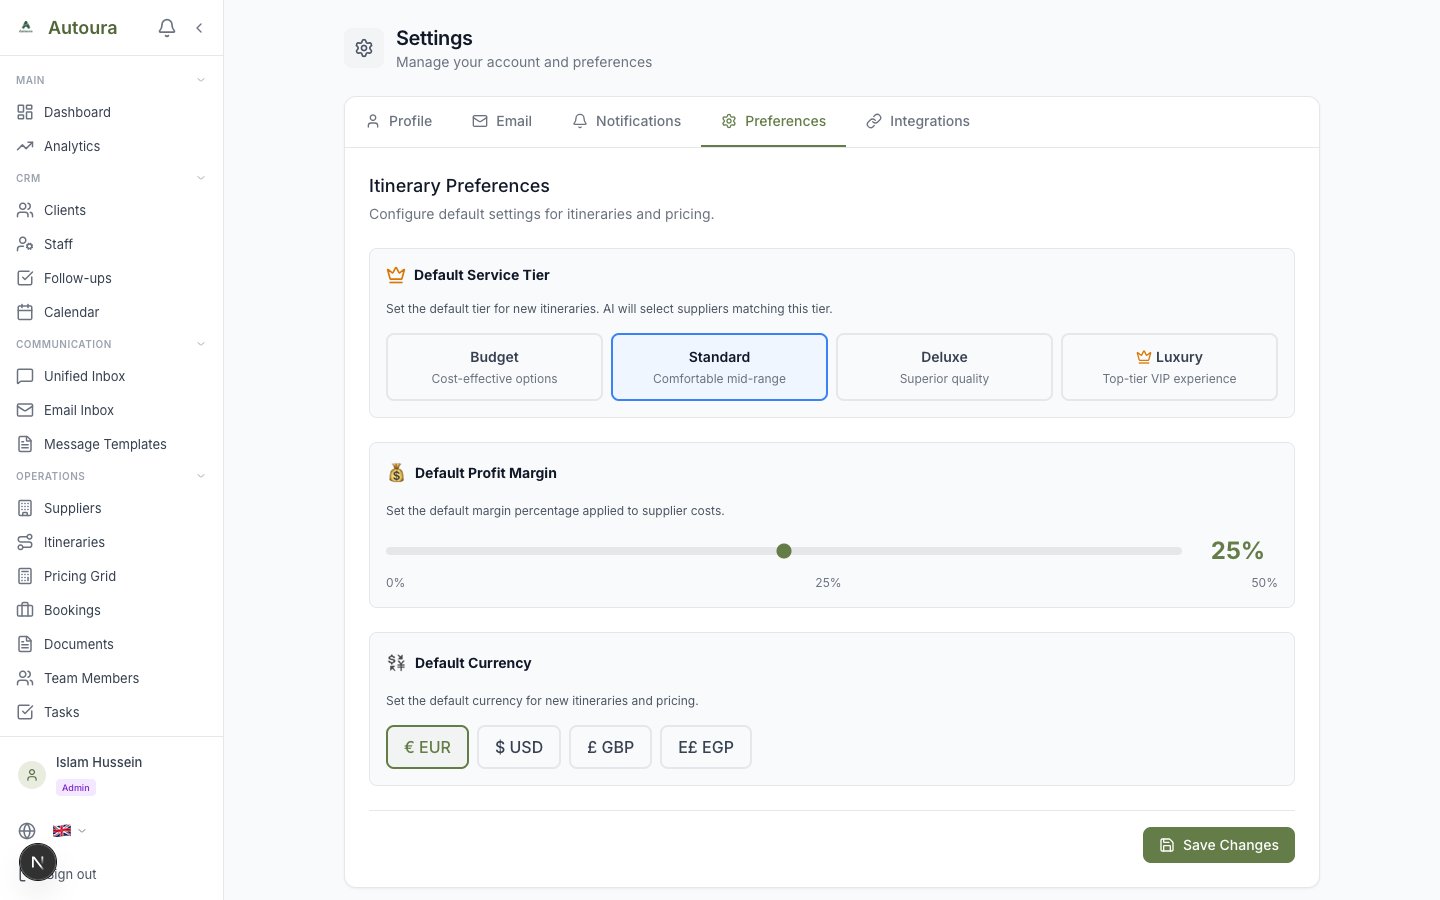
Settings page Preferences tab with cost mode, tier, margin, and currency defaults
WhatsApp is configured on its own admin page — WhatsApp in the Settings group — not as a Settings tab.
Settings that reach across the app
A few settings are less about your account and more about how the whole product behaves. They each have their own page:
- Your Vocabulary — relabel the product’s built-in terms in your own words (Settings group).
- Seasonal Premiums — the dated windows that lift every quote travelling in them.
- Extras & Upgrades — the add-ons, upgrades and options you can attach to any trip.
Organization, Billing & Capacity
Organization
Organization (Settings group) holds your company profile: upload your logo and set primary and secondary brand colors, which flow into your generated documents (quotes, invoices, and more). A Features section controls which platform features are enabled.
Billing and Subscriptions
Billing and Subscriptions shows your current plan and usage against plan limits, links to the plans page, and opens the Stripe customer portal to manage payment details.
Capacity
Capacity provides a capacity calendar: set default daily capacity and edit individual dates.
Support Chat
A floating support chat widget is available on every page — use it to message the Autoura support team directly, and replies arrive both in the widget and by email.
Working in Other Languages
Autoura handles client messaging in 29 languages. Client-facing documents — quotes, invoices, receipts, vouchers — are generated in English today; additional document languages are on the roadmap.
Translating a Conversation
- Open a WhatsApp or email conversation
- Open the translation panel on the message
- The language is detected automatically; pick a different one if the detection is wrong
- Use Re-translate if you want another pass
Replying in the Client's Language
The AI copilot drafts replies in whatever language the client wrote in. You review and approve every draft before it is sent — nothing goes out automatically.