Message Templates
Create, manage, and send pre-designed messages to clients, partners, suppliers, and team members via email, WhatsApp, or SMS. Templates save time by letting you reuse common messages with smart placeholders that auto-fill with real data.
Viewing Templates
Go to Message Templates in the sidebar. You will see all your message templates with their name, category, subcategory badge, channel, and usage count.
- Use the Search bar to find templates by name, description, or content
- Filter by Category (Customer, Partner, Supplier, Internal)
- Filter by Channel (Email, WhatsApp, SMS, or Both)
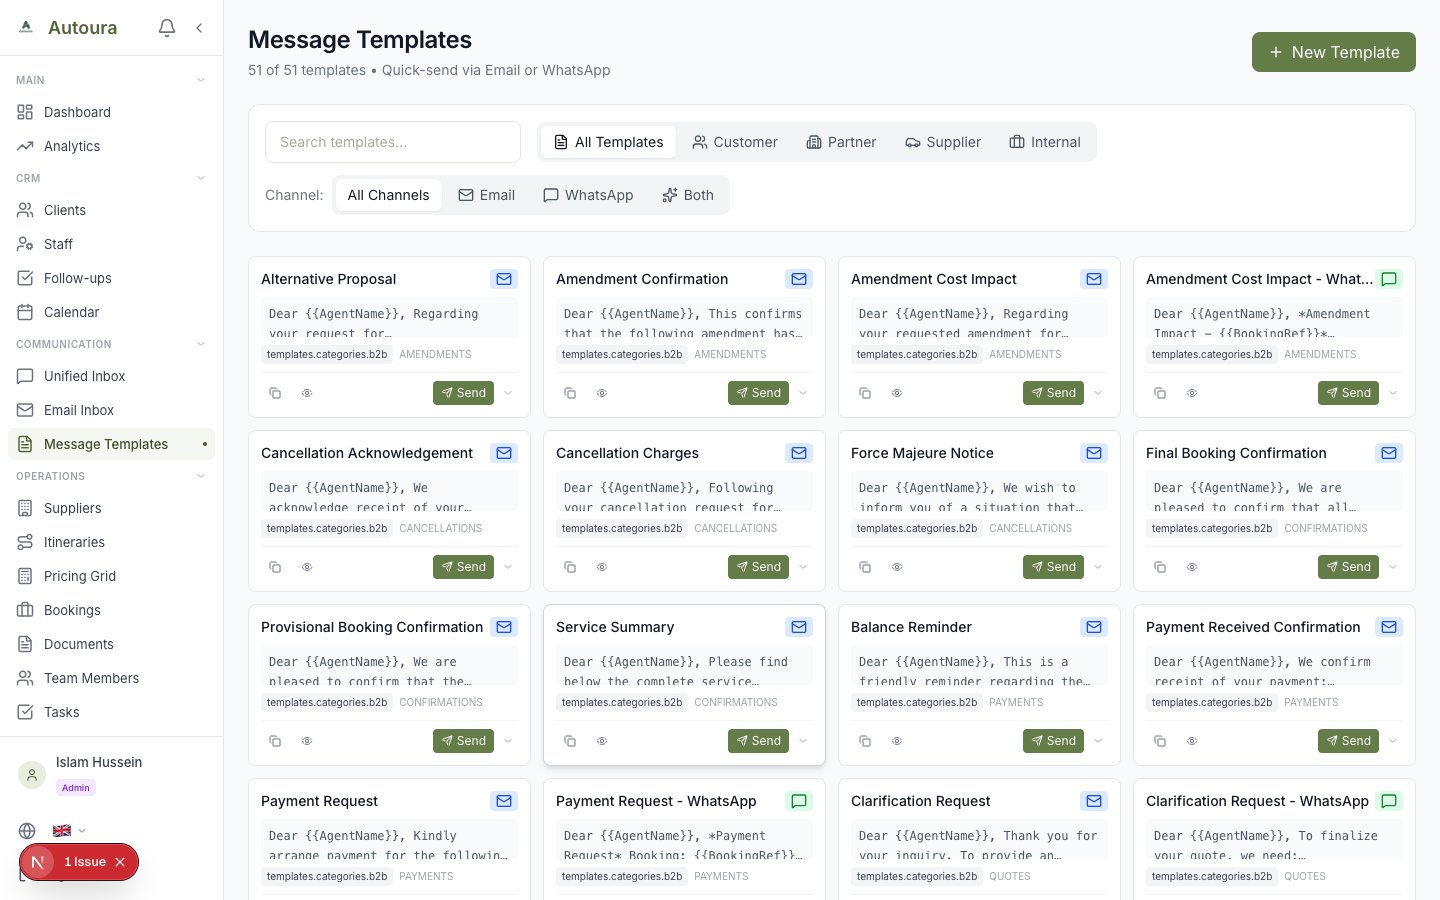
Message Templates list with search, category and channel filters, subcategory badges, and per-card Send buttons
Creating a Template
- Click New Template
- Enter a Name for the template (e.g., “Booking Confirmation”)
- Add an optional Description
- Choose the Category:
- Customer — For client-facing messages
- Partner — For B2B travel agency partners
- Supplier — For hotels, transport, guides, etc.
- Internal — For team communications
- Optionally set a Subcategory (e.g., booking confirmation, transport booking, guide booking) — shown as a badge on the template card
- Choose the Channel:
- Email — Includes subject line and body
- WhatsApp — Body text only
- SMS — Body text only
- Both — You pick the channel when sending
- Write the Subject (for email templates)
- Write the Body using placeholders for dynamic content — a live preview updates as you type
- Click Save
Screenshot: Template creation form with name, category, subcategory, channel, body, and live preview
Smart Placeholders
Placeholders are written as {{PlaceholderName}} and are automatically replaced with real data when you send the message.
Available Placeholders
| Category | Placeholders |
|---|---|
| Guest | {{GuestName}} {{PaxCount}} {{Nationality}} {{ClientPhone}} {{ClientEmail}} |
| Trip | {{TripName}} {{TripDates}} {{BookingRef}} {{Cities}} |
| Hotel | {{HotelName}} {{RoomType}} {{MealPlan}} |
| Guide / Driver | {{GuideName}} {{GuidePhone}} {{DriverName}} {{VehicleType}} |
| Schedule | {{PickupTime}} {{PickupPoint}} {{Date}} |
| Financial | {{TotalPrice}} {{Currency}} {{DepositAmount}} {{DepositDeadline}} {{PaymentLink}} |
| Operations | {{OpsManagerName}} {{OpsManagerPhone}} {{AgentName}} {{CompanyName}} |
{{...}} placeholder in your body text, but only the registered placeholders above auto-fill from the recipient's record — anything else stays for you to fill in manually before sending.Sending a Template
- Click Send on a template card, or open Preview and click Send This Template
- The recipient type (client, partner, supplier, or team member) is pre-selected from the template's category — supplier templates even pick the right supplier list, so a hotel template fills
{{HotelName}}, a guide template fills{{GuideName}}, and so on - Select the Recipient — their name, phone, email, and other known fields auto-fill the placeholders
- Fill in trip-specific fields (dates, prices, pickup times) manually — these are not linked to an itinerary
- Review the Live Preview and edit the message if needed
- Choose the channel (if the template supports more than one)
- Click Send
Screenshot: Send template dialog with recipient selection, auto-filled placeholders, and live preview
Bulk and Scheduled Sending
- Bulk send — Select multiple recipients and send the same template to all of them, with live progress as each message goes out
- Scheduled send — Pick a future date and time instead of sending immediately
Template Analytics
The analytics panel on the templates page summarizes usage across your team:
- Totals — Templates and messages sent overall
- Sends in the last 30 days
- Success rate — Share of sends delivered without error
- Top templates — Your most-used templates
- Channel distribution — How sends split across email, WhatsApp, and SMS
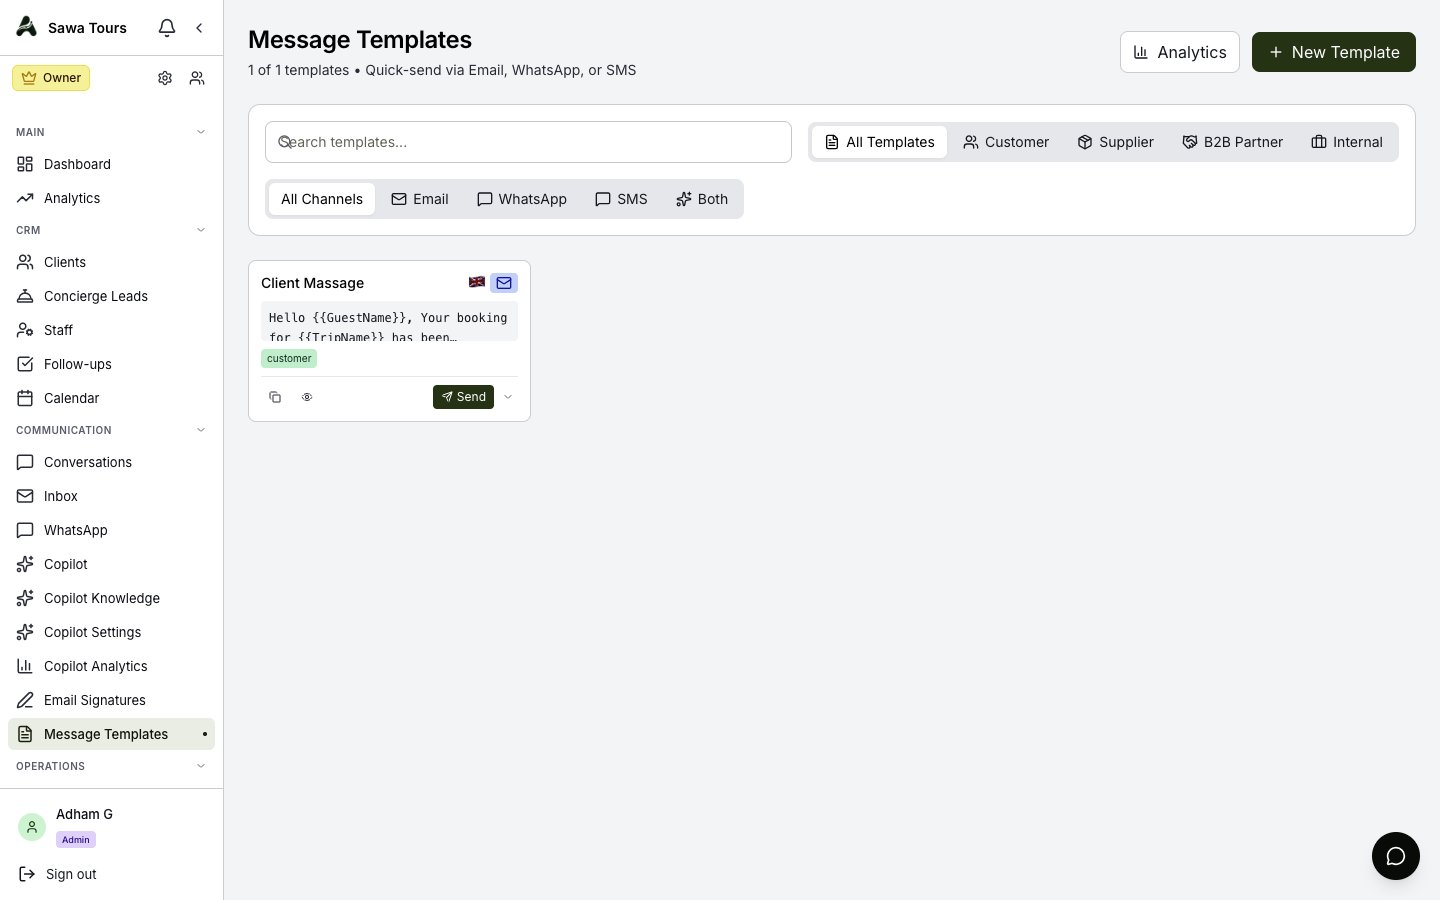
Templates page with the analytics panel showing totals, 30-day sends, success rate, top templates, and channel distribution
Managing Templates
From the templates list, you can:
- Edit — Update the name, content, or settings of any template
- Preview — View the full template content before sending
- Duplicate — Create a copy (named “<name> (Copy)”) to use as a starting point
- Delete — Remove templates you no longer need
Example Template
Booking Confirmation (WhatsApp)
Hello {{GuestName}},
Your booking for {{TripName}} has been confirmed!
Dates: {{TripDates}}
Travelers: {{PaxCount}}
Reference: {{BookingRef}}
Your guide {{GuideName}} will meet you at {{PickupPoint}} at {{PickupTime}}.
Total: {{TotalPrice}} {{Currency}}
Deposit: {{DepositAmount}} {{Currency}} by {{DepositDeadline}}
Pay here: {{PaymentLink}}
Best regards,
{{AgentName}}
{{CompanyName}}