Expenses & Commissions
Adding an Expense
Track every cost associated with running trips.
- Go to Expenses in the sidebar
- Click Add Expense
- Fill in:
- Category — one of 18: Tour Guide, Driver, Hotel/Accommodation, Transportation, Entrance Fees, Meals, Airport Staff, Hotel Staff, Ground Handler, Tipping, Permits/Permissions, Toll Fees, Parking, Fuel, Office Expenses, Marketing, Software/Subscriptions, or Other
- Description of the expense
- Amount and currency
- Expense date
- Supplier name (who you paid) and Supplier Type — Tour Guide, Driver, Hotel, Restaurant, Transport Company, Airport Staff, Hotel Staff, Ground Handler, Government/Authority, or Other
- Link to itinerary (optional — connects the expense to a specific trip for P&L)
- Receipt (upload or paste URL)
- Status — Pending, Approved, Paid, Rejected
- Payment method — Cash, Bank Transfer, Credit Card, Wise, PayPal, Company Card
- Click Save
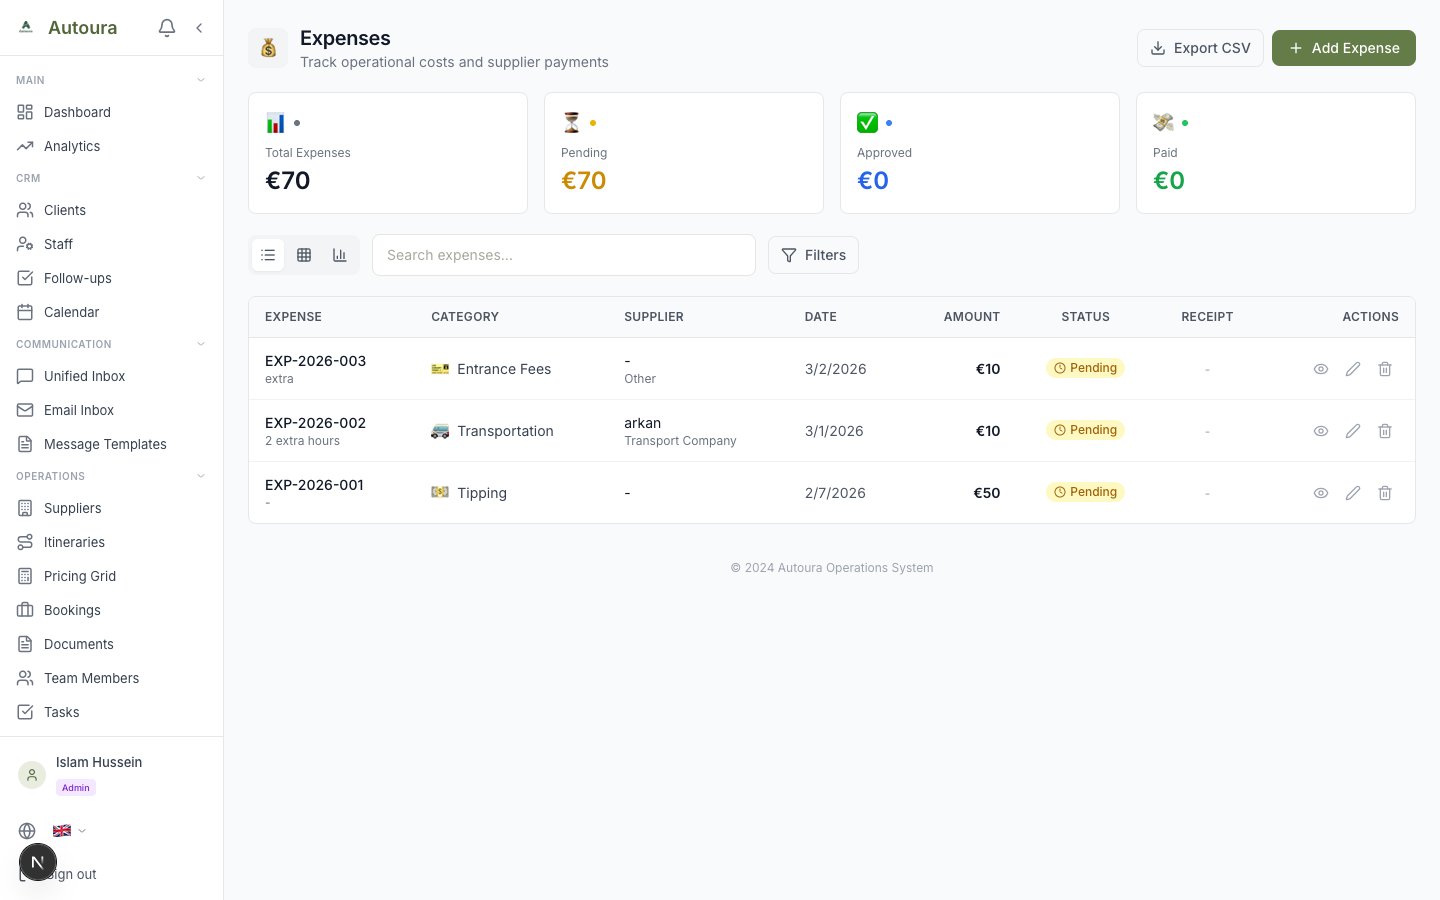
Expenses page with add expense form, filters, and expense list
Managing Expenses
- Filters — Search, plus filters by status, category, supplier type, and date range
- Category breakdown — A panel showing spend per category, alongside status summary tiles
- CSV export — Export the expense list for your accountant
- Quick mark-as-paid — Mark an expense as paid directly from the list
- Expense detail page — Click an expense to open its detail page with a built-in receipt viewer
Why Link Expenses to Itineraries?
When you link an expense to an itinerary, it appears in that itinerary's Profit & Loss section. This lets you see the true profit for each trip by comparing revenue (what the client pays) to costs (what you pay suppliers).
Commissions
Track money earned from partners and money owed to suppliers.
Commission Types
- Receivable — Commissions you earn FROM partners (e.g., a hotel pays you a commission for bookings)
- Payable — Commissions you owe TO suppliers or agents
Adding a Commission
- Go to Commissions in the sidebar
- Click Add Commission
- Choose Receivable or Payable
- Select the Category (Hotel, Shopping, Restaurant, Transport, Cruise, Attraction, and more)
- Enter the base amount and commission rate (%)
- The commission amount is calculated automatically
- Link to a supplier or itinerary
- Set the status — Pending, Invoiced, Received, Paid, Cancelled, or Disputed
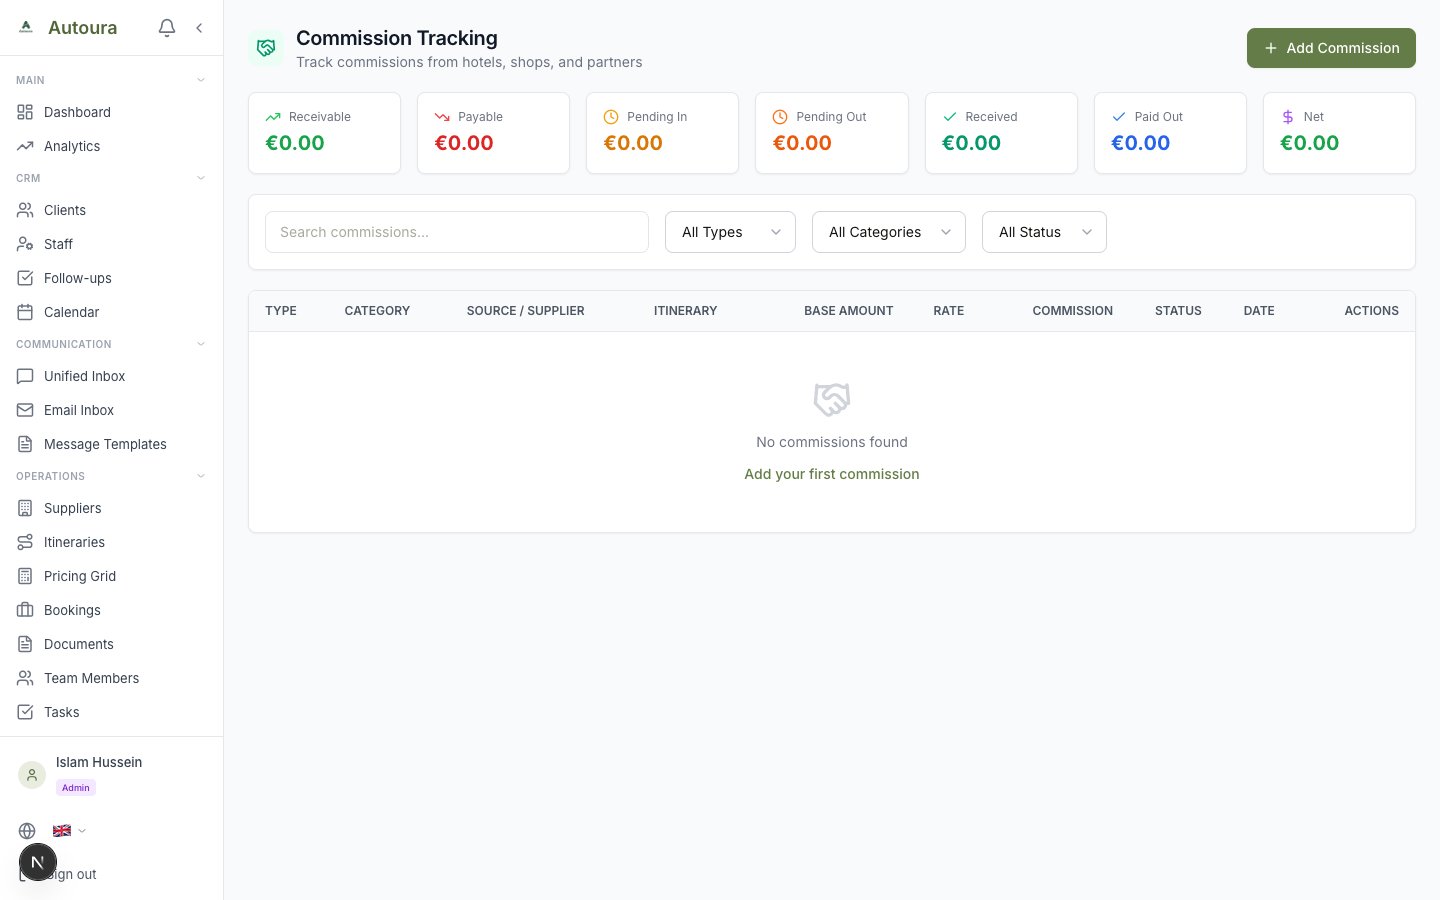
Commission Tracking page with summary cards, filters, and commission list
Tracking Commissions
Summary cards at the top show Receivable, Payable, Pending In, Pending Out, Received, Paid Out, and Net totals. Filter the list by type, category, or status (the status filter offers Pending, Invoiced, Received, Paid, and Cancelled).
When a commission settles, use the one-click Mark as Received (receivables) or Mark as Paid (payables) action right from the list.
Receivables, Payables & Supplier Invoices
For day-to-day accounts receivable and payable work — aging reports, payment reminders, and supplier invoice matching — use the Receivables, Payables, and Supplier Invoices pages in the Finance section. They are covered in Invoices & Payments.
Reports
Go to Reports in the sidebar (admin/manager only) for the financial reports dashboard. Pick a year from the period dropdown, then work through five tabs:
- Overview — Headline figures and an expense breakdown by category
- Revenue — Quarterly and monthly revenue views
- Cash Flow — Monthly cash flow, including accounts receivable and accounts payable figures
- Tax Summary — Estimated VAT/tax summary (14%)
- Commissions — Commissions by type and by recipient
Every table has a CSV export button.
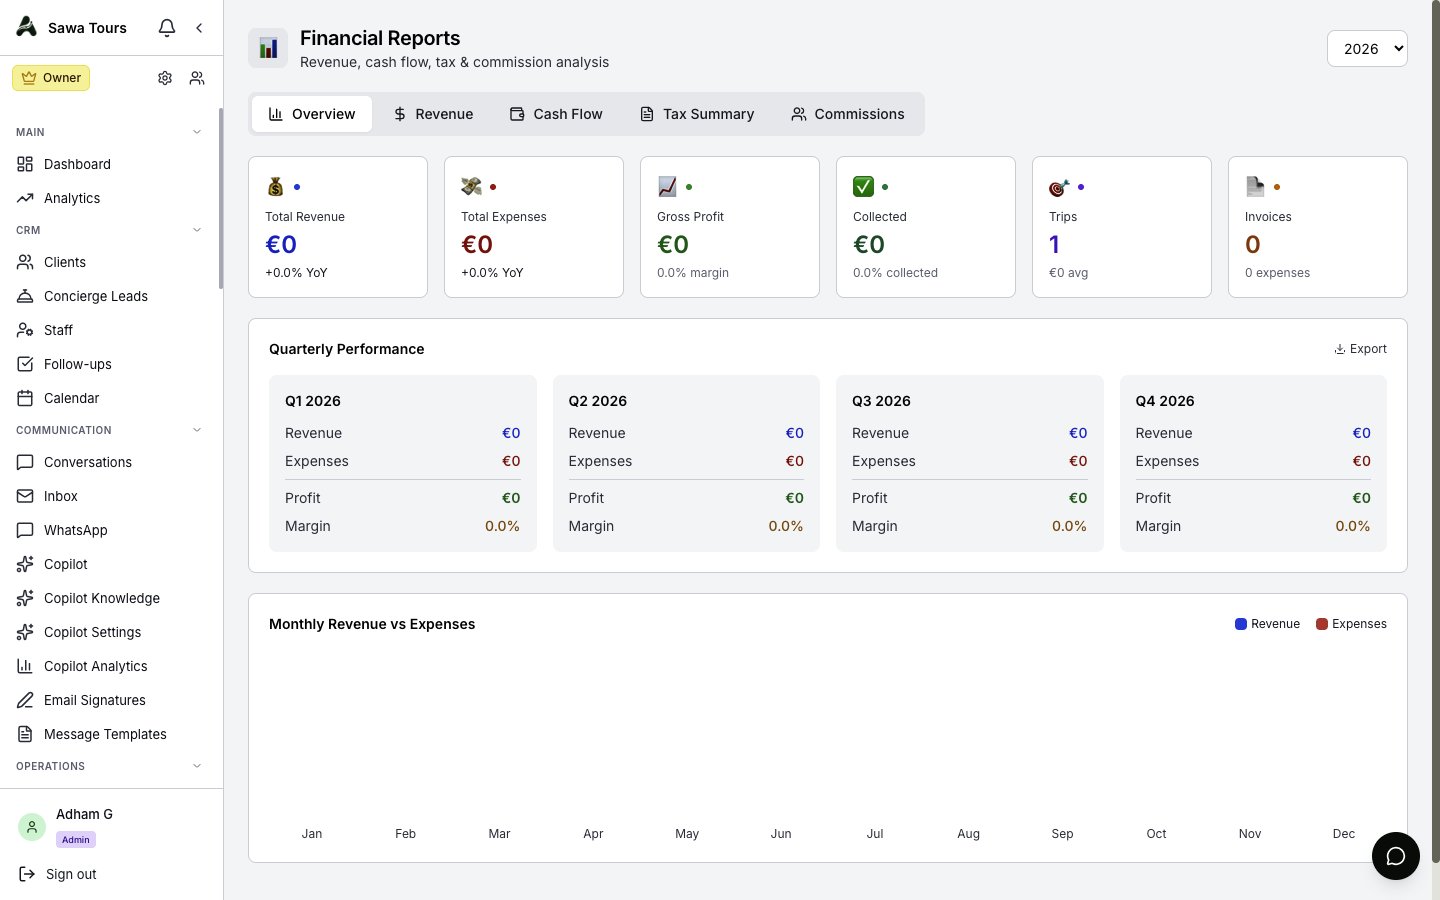
Reports page with Overview, Revenue, Cash Flow, Tax Summary, and Commissions tabs